I have opened my own Preschool - visit macfadyenpa.com

Don't forget to visit our Facebook page and Pinterest for additional ideas and links! Updates are posted frequently.


Add yourself to Kreative Resources Blog Hop!


ANY COMMENTS DEEMED SPAM WILL BE DELETED! If you wish to advertise on my page you must contact me directly @ kreativeresources@hotmail.com


Showing posts with label Sensory. Show all posts

Friday, 27 April 2012

Bird in a nest!


We made birds in a bird nest this week.

We began by making paper mache nests - with left over Shredded paper Easter grass.


Then we made birds to live in the nests!


Tweet tweet!

Wednesday, 25 April 2012

Inspiration and nature!

We have been really busy gardening our little patch of land. We are hoping for a great deal of amazing plants to surge forth. There should be lots of veggies to try if all goes well!
To go along with our nature and gardening activities I showed my tots the pictures of Happy Hooligans Robin Family! We also did our version of their rockin-robin & we also made our version of nesting material for the birds from The Crafty Crow, which Happy Hooligans shared the link for on their FB page. Thanks you guys for inspiring us to have a great day!

Here are our gardening pictures from today!


Our version of the Rockin'-Robin - hung in the hallway with our coffee filter flowers!

Our version of the nesting material for birds - hung in a tree beside our garden.

Our garden - veggies in back - flowers in front!

Daily watering!

Tuesday, 24 April 2012

Dancing in the dark!

Yesterday it was a dark and gloomy day - we celebrated the day instead of feeling blue - by turning off the lights and making it even darker. We got out some glow sticks and danced to the beat of the drum. Oh what fun!

The room was definitely darker - the flash of the camera certainly brightened it up.
The glow sticks did look amazing in the dark as the tots danced about!

Indoor planting

The weather here yesterday was horrible - wet, slushy, rain and cold! What a great day to plant our flower seeds - INDOORS!

Everyone was really focused on learning about the
seeds and how to put them into the pots for growing.
Hopefully we will have some real beauties in our garden this year!

Tuesday, 3 April 2012

Holograms

Today we explored insects via holograms!

I have a 3-D Mirascope which reflects images in the form of a hologram.

I purchased it at a local hobby shop. Approx. $8

A small object - like this plastic lady bug are placed in the centre of the concave mirror.

The cover is put on - which is a convex mirror with a hole in it.

The image is reflected out the hole in the form of a hologram.
It's really cool!

Saturday, 31 March 2012

Magnetic to Sensory

We are moving from Magnetic March into Sensory Spring!

So we did these creatives to overlap the two:

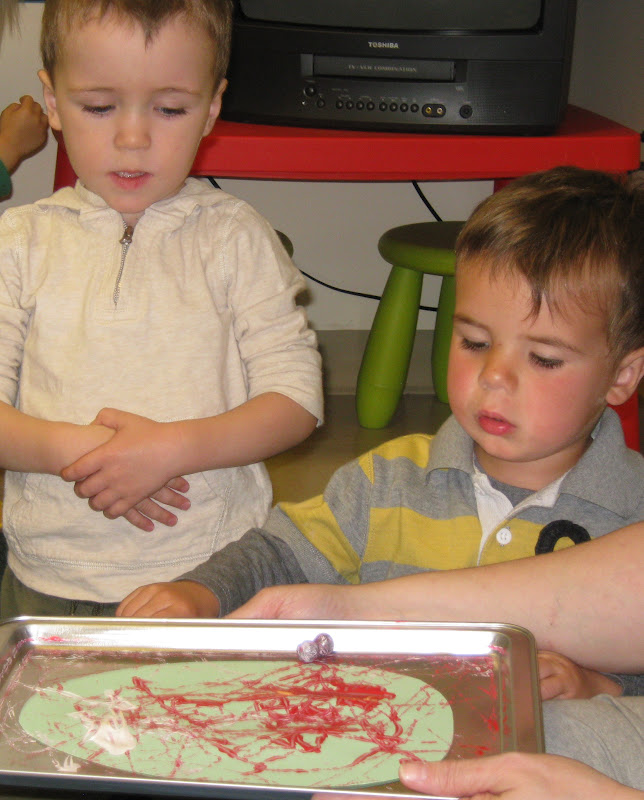
We used a steel ball to drag around on an egg shaped piece
of cardstock, with a magnet wand underneath.
It was taped onto a tin cookie sheet

I had to hold up the tins for stability.

 
We added another colour and another ball.
The result was successful!

Then we glued alphabet letters, which we dyed previously,
onto and egg shaped piece of cardstock.
The texture was effective.

It looked very pretty!

Nice eh!

Wednesday, 28 March 2012

Easter in our classroom!

Every season and occasion brings little extras into the classroom,
which makes things fun and interesting!

Here are a few things we added:

An I Spy - made from a plastic Easter egg and all the goodies that fit the occasion.

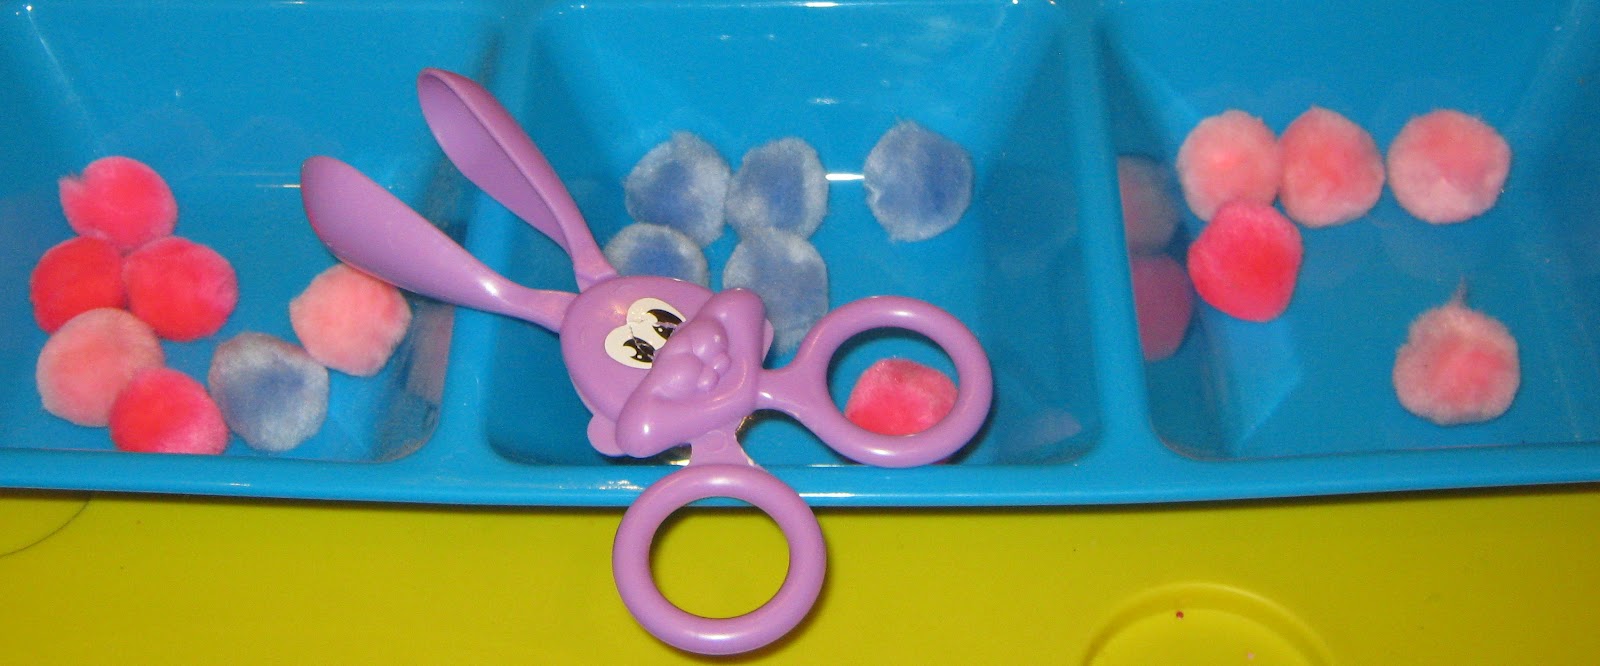
Like Barrel of Monkeys - but it Bunnies!
For fine motor and hand eye coordination skills.

Tic Tac Toe - we are using it for sorting, patterns / sequencing and counting

Transferring and sorting with tongs.

Open and closing activity - each egg has a small eraser in it.

Pouring small erasers from one flower pot to another.

Patterns - counting - sorting.

Our little bunnies!


There are probably Kmart coupons available for holiday supplies, to save some money, so check online for next time.

Saturday, 24 March 2012

Hey what's in there?

This week we made a mystery box.

We sealed a box (taped it up) &  painted it with acrylic paint.
Then cut a hole in one side - large enough to put our hand in.
Then covered the hole with a felt 'drape' , to deter peeking.
Objects were selected to 'hide' inside.
As we created the box I described to the children how it would be used.


The object of this activity is to put your hand in and select an item,
then describe the item without looking and before taking it from the box.
It's very hard not to peek when you are 2 or 3 years old, but over all the tots did well.

Next week when we use it I will toss in a chocolate Easter egg for them to find - without looking! :)


Tuesday, 20 March 2012

I am turning April into - Sensory Month!

I have started by putting out a few sensory bottles!

This is a good way to entice the children into a new theme!

 I made a couple of sink and float bottles - 2 magnetic bottles
and 1 with gross lizards and bugs!

These provide loads of exploration in such a small bottle!


Sensory bottles seem more fun on a light table!

Note: Always hot glue your bottles shut for safety and making them mess free!

Wednesday, 14 March 2012

More Magnetic ideas!

Preparing for back to school next week!
We are continuing our Magnetic March.

Week One went like this!

Topped off with this fun activity!

Here is some of what we will be doing when we return:

Magnetic exploration box.

Magnetic fishing.

Matching magnet numbers.
I took pictures of the numbers - prepared the matching sheet and laminated it.
Then taped the matching sheet to a tin cookie sheet.


We will add one of our new activities from Toys, Tools & Treasures

Then we will be doing this 'trick'!


See the paper clip laying in the bottom of the bottle?

Now it's floating to the top!

Magic! 

Here's how we did it:
Poke a hole in the bottom of the plastic bottle.
I heated a metal paper clip with a lighter and pushed it through.
Then insert a long thin string - tie on a paper clip once it's through - and make it the length of the bottle.
Tie a knot in the end of the string so it does not go back through the bottle.
Add a dab of hot glue to secure it further. 

Now hot glue a magnet into the lid.
Glue it onto the bottle.
Then you show everyone the bottle - with the paper clip laying down inside.
Then turn it gently upside down and then turn it upright - showing everyone the floating paper clip.

Our next magnetic activity

You will need a magnet and some pennies.
I discovered not all pennies are magnetic.
Check them first to ensure they will indeed be attracted by the magnet.

Now see how many pennies you can attach end to end.

Then take a straw and gently blow on the last penny in the link.

It will spin!!

This should be a fun magnetic week!